
Retail Packaging Hang-Hole Design: Peg Fit, Headers and Seals
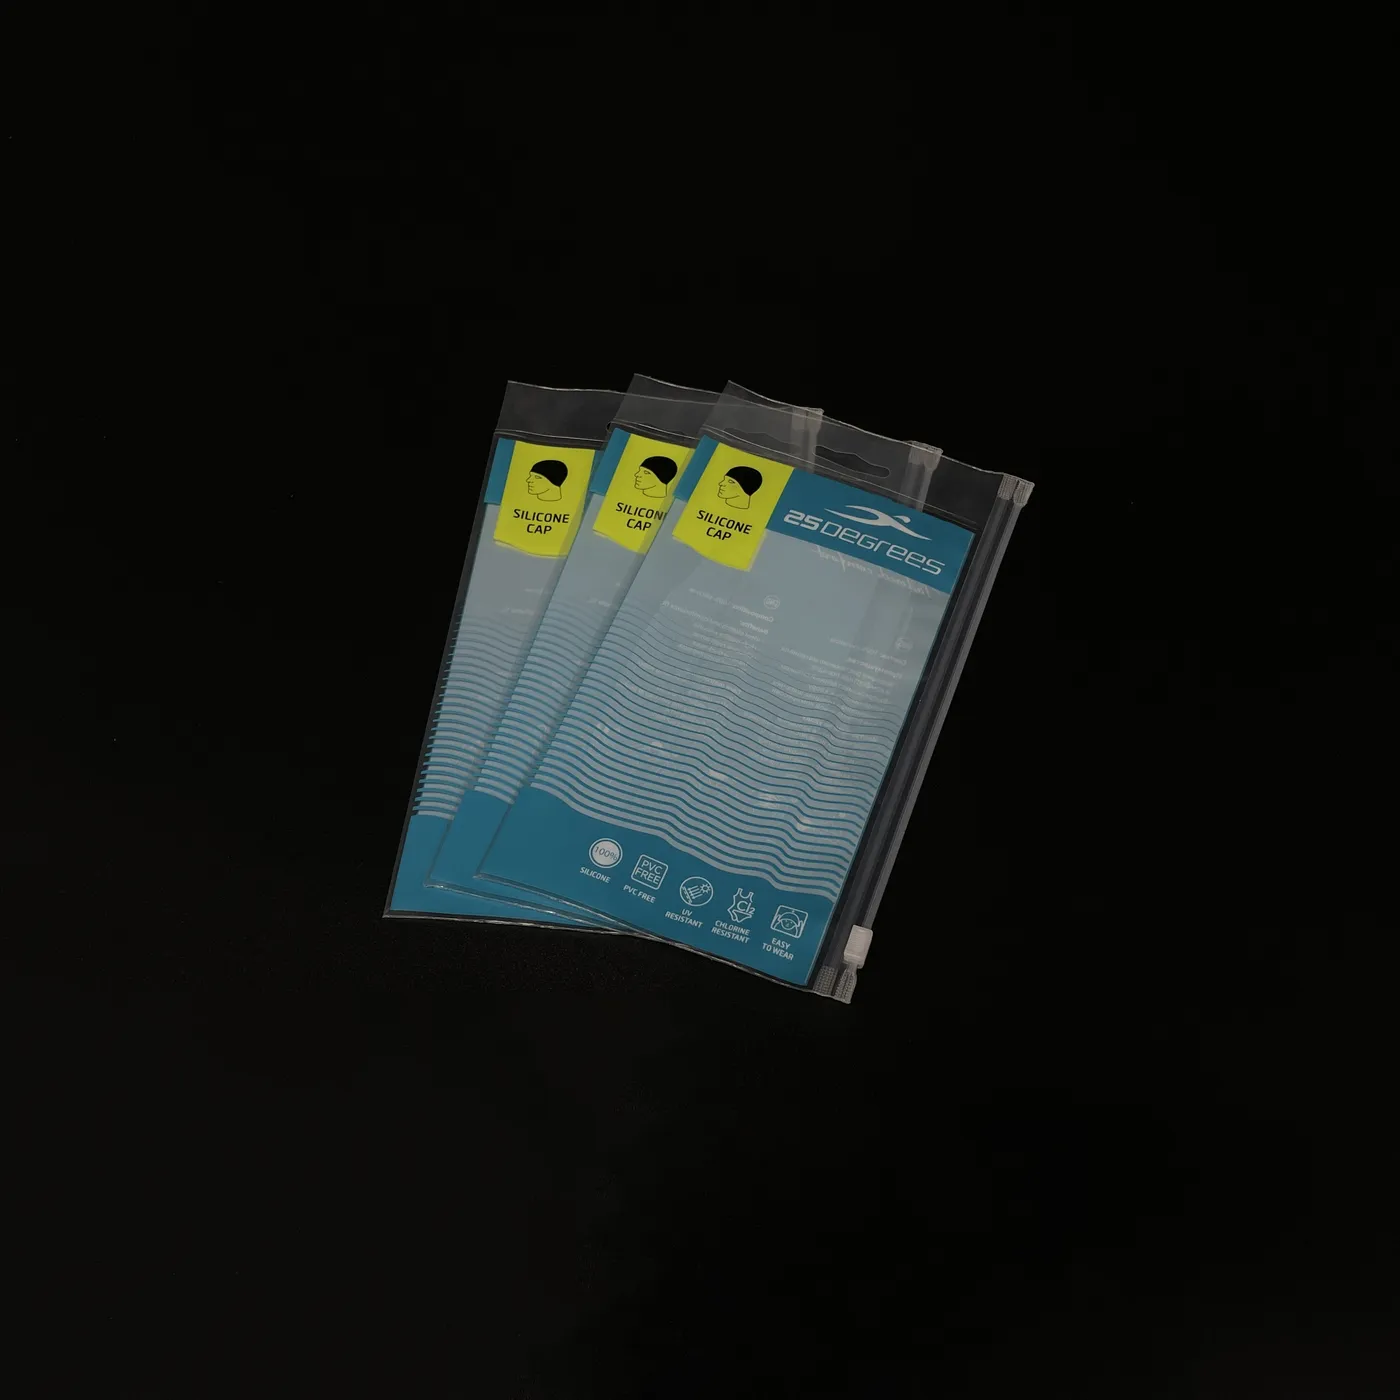
Quick answer: Design a retail packaging hang hole around the actual display peg, filled product weight, header construction and opening sequence. Confirm the cut shape, position, surrounding material and seal locations on a drawing, then test the filled pack on the intended fixture. A Euro slot is not a universal guarantee of peg compatibility or load capacity.
A hang hole can be a small cut with a large effect on the pack. Poor positioning may tilt the product, obstruct a zipper, weaken a header or force the barcode onto a fold. Treat the display feature as part of the structural layout before the artwork is finalized.
Hang hole, carry handle and vent hole are different features
A hang hole supports the pack on a display fixture. A carry handle is designed for the user’s grip and movement. A vent hole intentionally permits air movement. Their purpose, geometry and placement differ, so avoid requesting a punched hole without explaining the use.
For carrying applications, see tote handle and load testing. For resealable retail packs, our zipper bag overview describes the broader closure options.
Start with the retailer’s actual display fixture
Request a fixture drawing or sample peg where possible. Record the peg profile, diameter or relevant cross-section, entry shape, stop arrangement and clearance needed to load or remove the pack. Confirm whether the display uses one support point or a different arrangement.
Do not specify one standard Euro-slot dimension for every store. Retailer fixtures, header designs and local requirements can differ. Have the supplier mark the proposed cut dimensions and tolerances on the exact bag drawing.
| Drawing detail | What to confirm | Why it matters |
|---|---|---|
| Hole or slot geometry | Shape, dimensions and tolerances | The pack must load onto the intended peg without forced stretching. |
| Location | Distance from the top, side edges and closure | Position affects balance, access and remaining supporting material. |
| Header construction | Layers, reinforcement and any bonded area | The cut must be evaluated in the actual finished construction. |
| Seal and zipper layout | Cut location relative to protective seals and opening features | Avoid defeating the required closure or barrier. |
| Artwork safe area | Text, logos and barcode clearance | A cut or fold must not remove or obscure essential information. |
Preserve the required closure and protective barrier
If the contents require a sealed enclosure, locate the display feature in a purpose-designed header outside that enclosure where appropriate. A hole punched through the product chamber creates an opening; the presence of a zipper elsewhere does not undo it.
Review the complete cut, seal and tear-open arrangement. If the shopper tears off the header, check what remains and whether the resealable closure still works as intended. Use our seal integrity guide for the separate question of protective closure performance.
Balance the filled pack on the fixture
Product position matters. A heavy component offset from the support point can make the pack lean or twist, even if an empty sample hangs neatly. Loose contents may also settle after transport and change the display orientation.
Test the intended product and accessories at the approved fill quantity. Check whether the front faces the shopper, neighboring packs interfere, and the lower corners or protruding parts rub against the fixture. Use real filled samples rather than a flat mockup alone.
Plan a display and handling trial
- Confirm sample identity, construction and drawing revision.
- Load the intended fixture using a realistic operator motion.
- Observe the pack for the agreed display period and conditions.
- Remove and replace it using the expected shopper handling pattern.
- Inspect stretching, tearing, header separation and permanent tilt.
- Open the pack as intended and check the remaining closure and graphics.
Agree the number of samples, duration and failure definitions with the retailer or buyer. There is no universal safe displayed weight that follows from film thickness or slot shape alone.
Keep the barcode and instructions clear
Reserve a stable print area away from the die-cut, folds and distorted header regions. GS1 UK advises keeping barcodes and their quiet zones clear of die-cuts, seams and folds. Test the location on the filled, hanging pack as well as the flat artwork.
Read barcode printing on flexible packaging before approving the print layout. Use the supplier’s exact dieline rather than copying a hang-hole position from a different bag.
What to send for a hang-ready bag quotation
Provide the product and filled weight, bag format, fixture information, required opening sequence, header preferences, artwork and order quantity. Ask which dimensions and construction details are proposed and which have been confirmed by a trial.
Use the RFQ checklist to record the requirements and sample approval checklist to retain the tested revision. Bowen New Material (Dongguan) Co., Ltd. supplies custom packaging from Dongguan, China. Send your product and display-fixture requirements to discuss a hang-ready packaging design.
Frequently asked questions
Will every Euro slot fit every display peg?
No. Confirm the actual fixture and cut geometry, then test the filled pack on that fixture.
Can I punch a hang hole through any pouch?
No. A cut through the product chamber creates an opening. Review the header and seal layout against the required protective enclosure.
Can a carry handle replace a display hang hole?
Only if the actual design is assessed for that display use. A carrying feature and a peg-support feature have different handling conditions.
Is testing an empty hanging bag enough?
No. Filled weight, product position, settling and shopper handling affect the result. Approve a representative filled sample.